How to Repair a Non-Working Range Hood
Oct 17, 2022
How to Repair a Non-Working Range Hood
When functioning, range hoods make cooking far more enjoyable. The light illuminates the cooking area, while the exhaust fan removes fat, steam, and smoke from the air.
Noisy fan
- Remove cooktop filter(s).
- Listen closely to identify the offending fan. (Some range hoods contain multiple fans.)
- Go to the electrical service panel and switch off the range hood's circuit breaker. Verify that the power is off by turning on the lights or fan. If they do not turn on, you can proceed.
- Remove any protective metal or plastic grille from the fan blades.
- Spin the fan manually. This can help determine the source of the noise. Always use protective gloves, regardless of the substance of the blades; they may include sharp edges.
- Use a flashlight to determine if the fan blade is scraping against anything as you spin it. If it is rubbing, try pushing the motor slightly to the right or left with your hand from above the fan. Try rotating the blade once more to see if the sound improves.
- If the fan is squealing, the motor bearings most likely need to be lubricated.
- Loosen the Phillips-head screws surrounding the bottom metal plate of the range hood to remove it.
- Using pliers, undo the bolt connecting the fan blade to the motor shaft. Then, remove the fan blades.
- Spray lubricant at the point where the shaft exits the fan motor.
- Spin the motor shaft manually to determine if the sound improves. Add additional spray lubrication if the squealing continues.
- Replace the fan blade and tighten the holding bolt.
- Replace the range hood base plate and the protective fan grille.
- Test the fan when the circuit breaker is turned on.
The lights are out.
- Replace the bulbs if the fan turns but one or more of the lights do not illuminate.
- Go to the electrical service panel and switch off the range hood's circuit breaker. Verify that the power is off by turning on the fan.
- Remove any protective glass covering the bulbs.
- Turn the light bulb counterclockwise until it pops out. Some models require only a quarter turn. Gently remove the halogen bulb straight out of the ceramic power connector.
- Replace your bulbs.
- Note: Halogen bulbs should be held with a tissue to prevent skin oil from coming into contact.
- Install protective bulb covers again.
- Reconnect the circuit breaker.
Request a quote
Handyman Medicine Hat Quote
You might also like
Medicine Hat Handyman
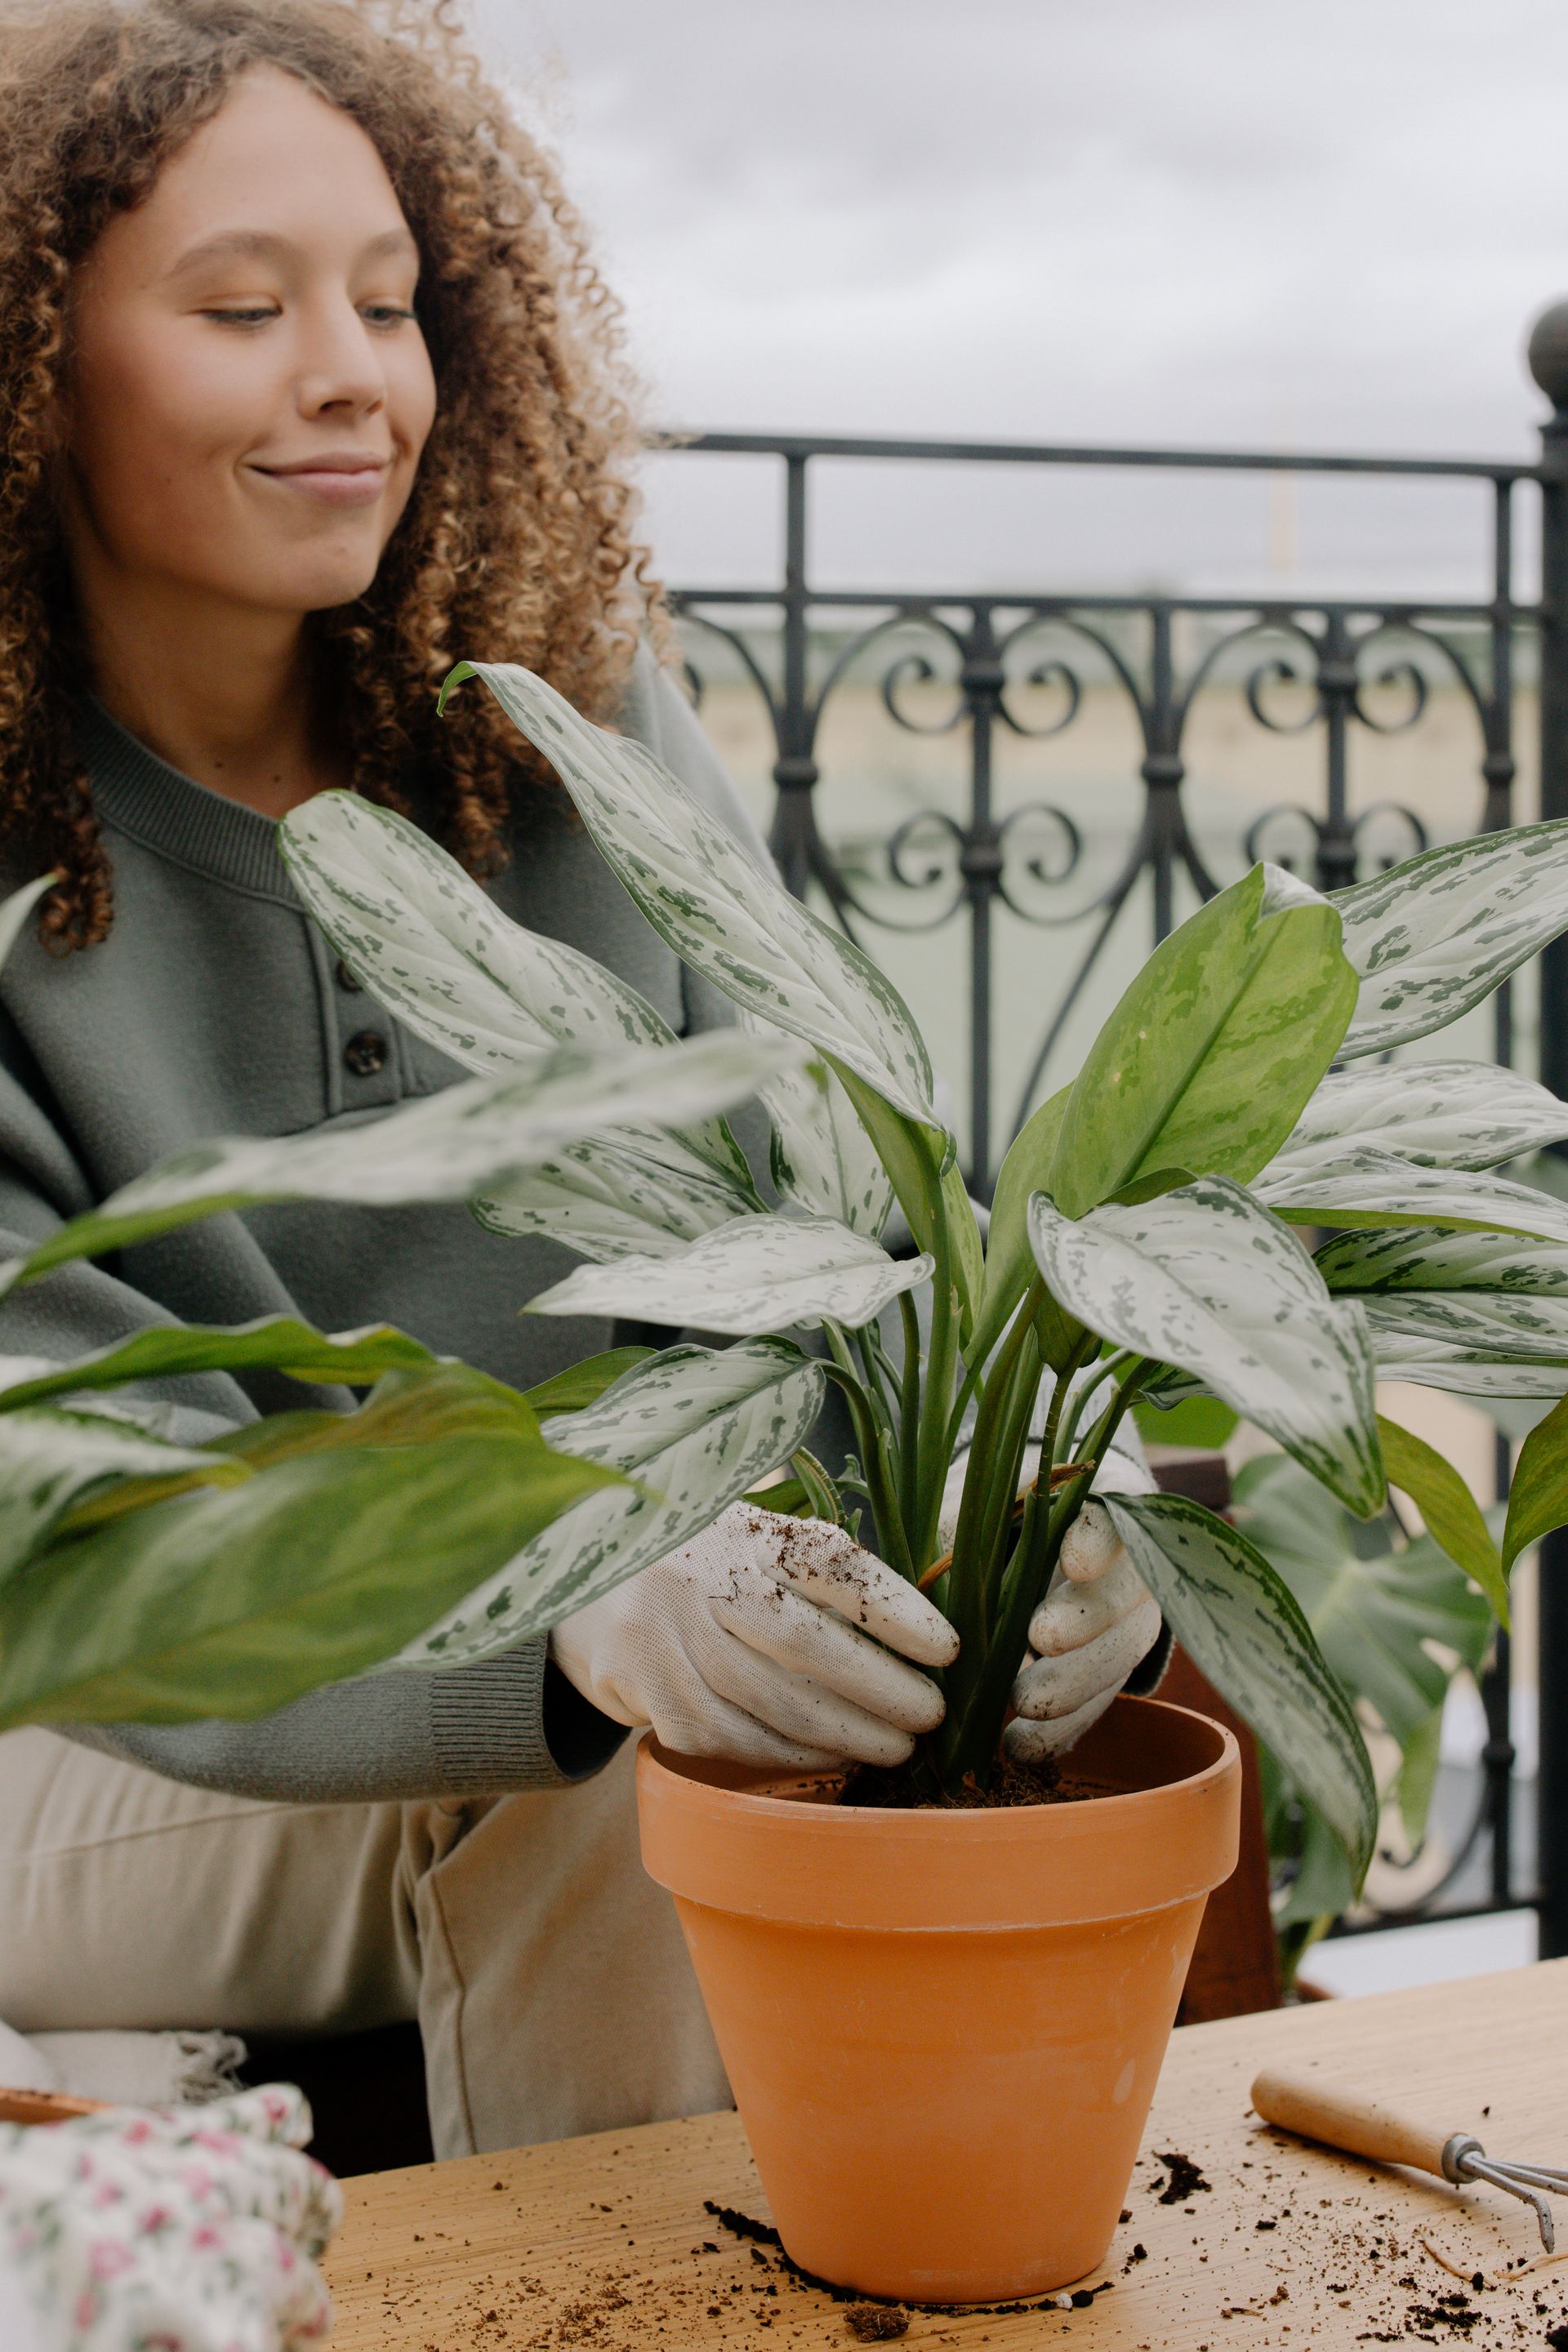
This collection of landscaping and gardening helpful tips will help you learn innovative ways to achieve the perfect backyard and garden you've always dreamed of. Plant-in-a-Pot Landscaping Design. Have you ever thought of reorganizing the garden following seeing mature plants appear?
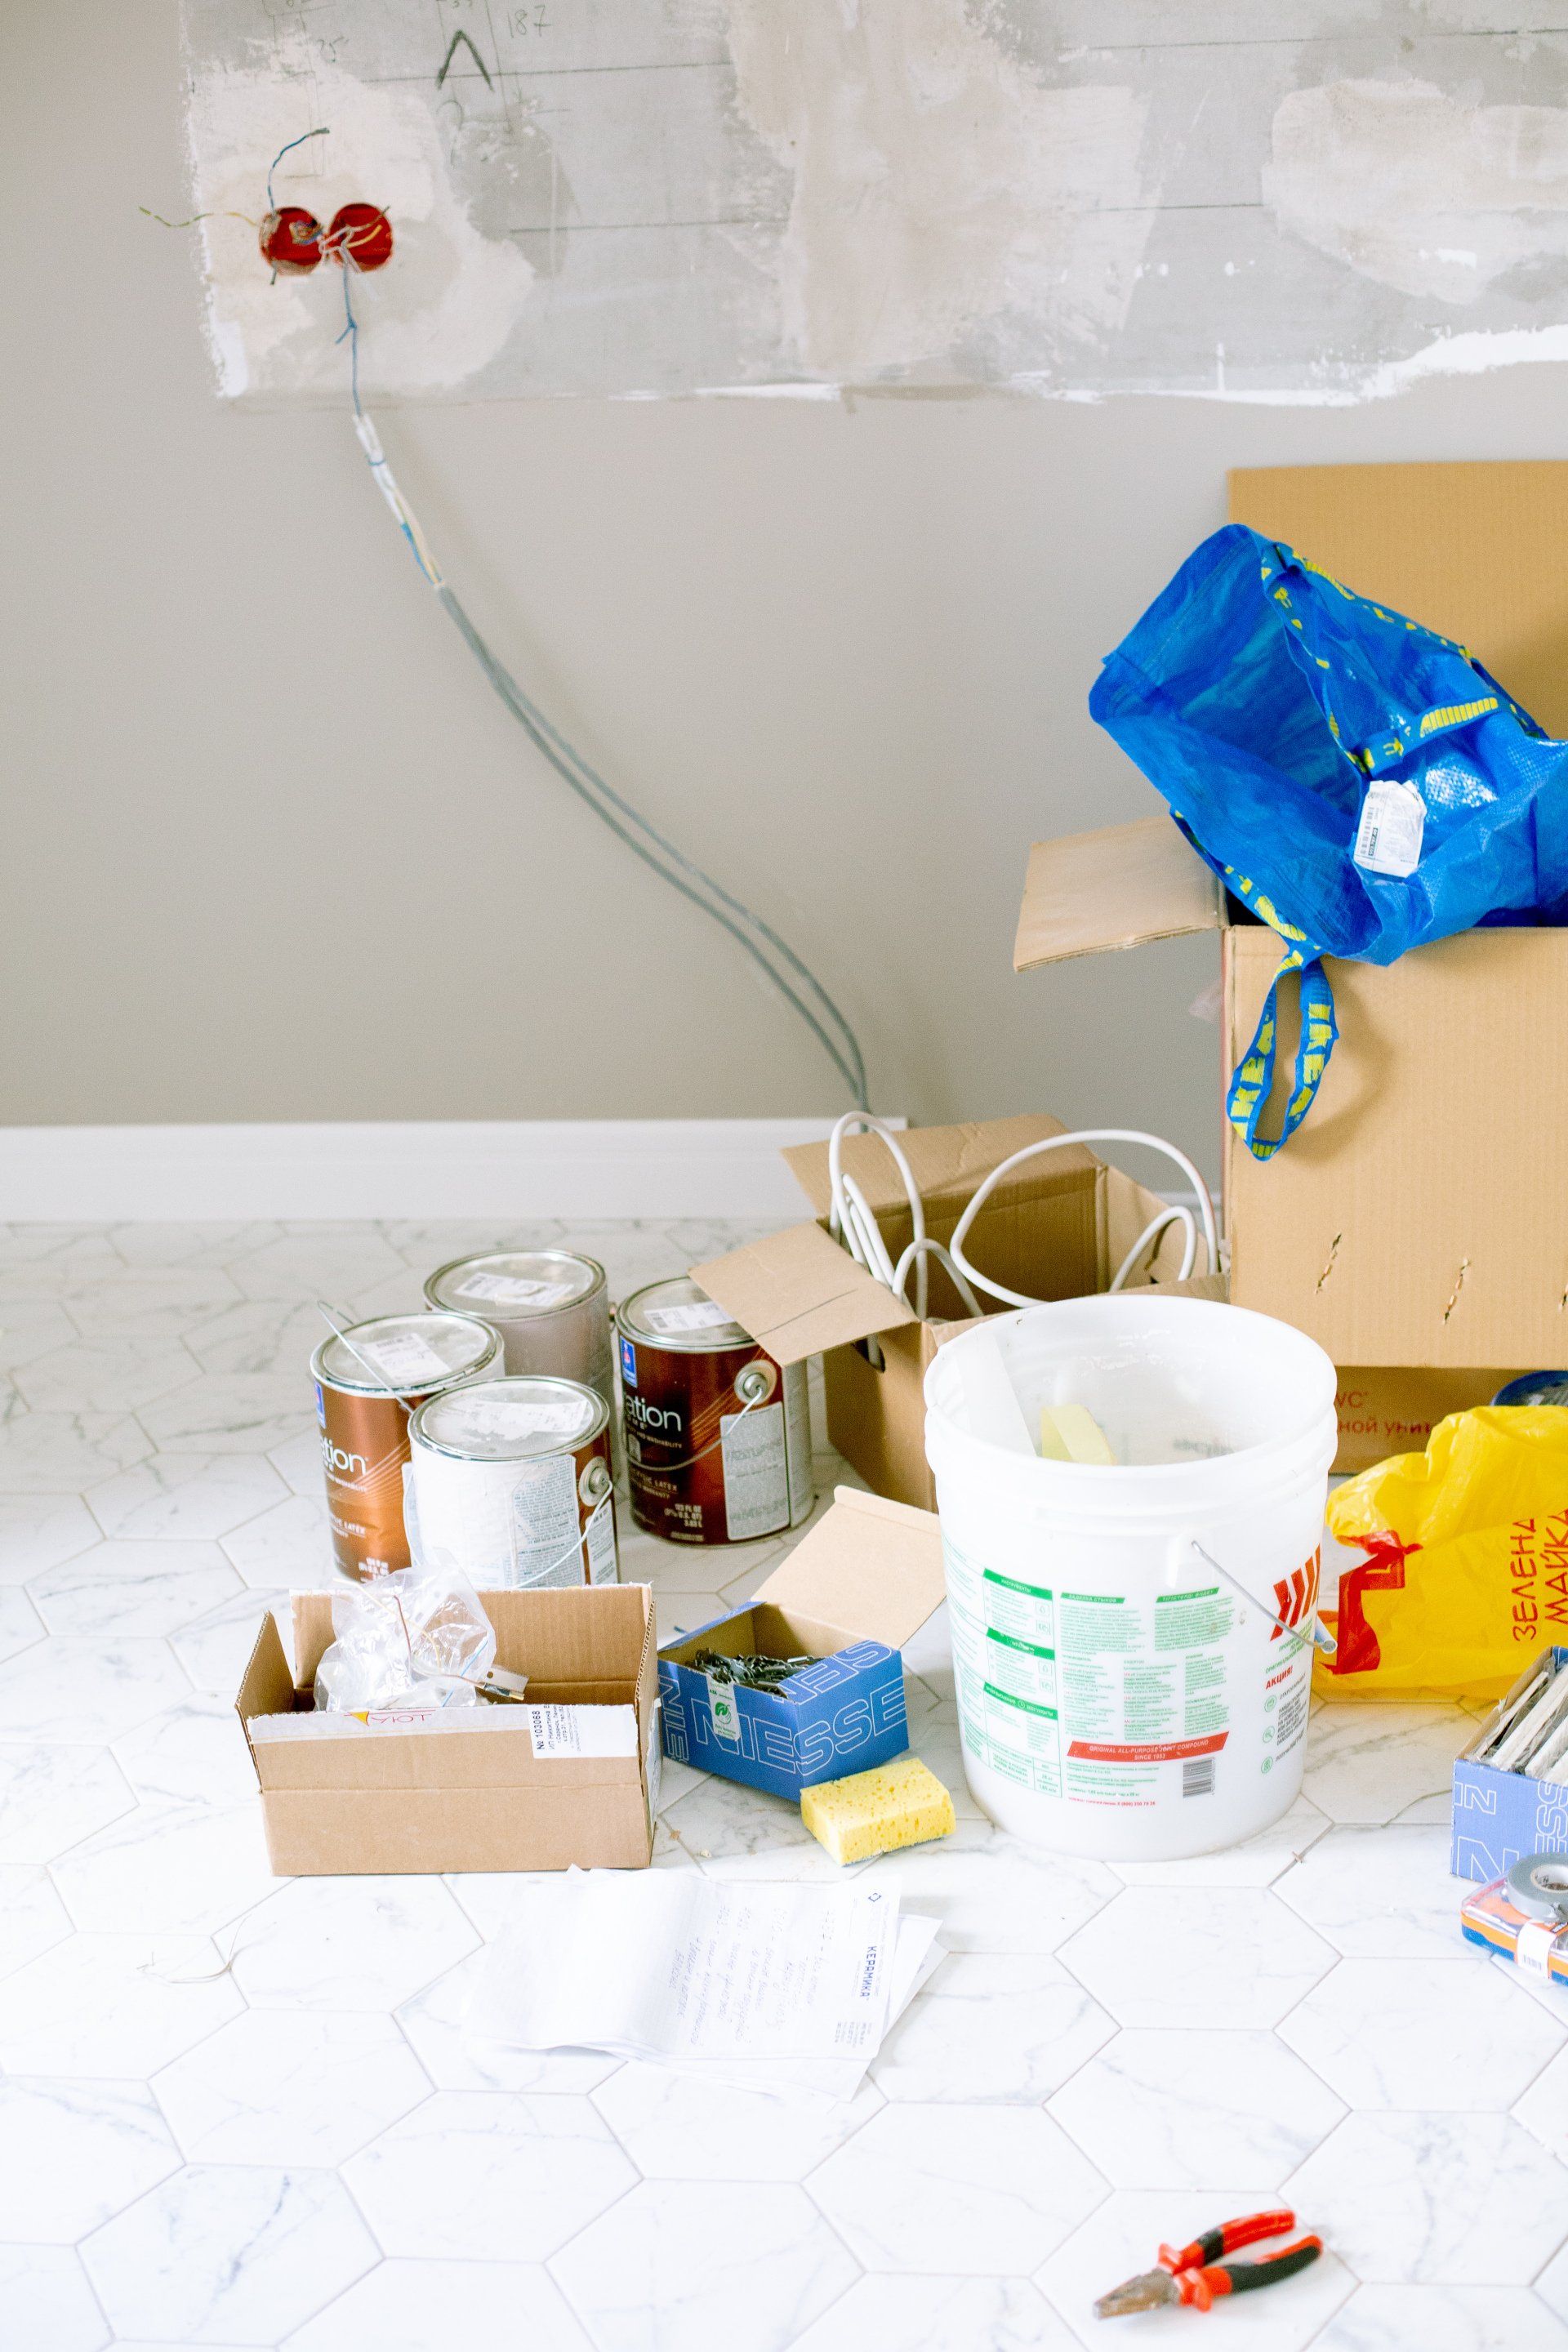
To make sure you don't make a mistake in your next painting, we've created this list from our experts. Find a new technique or two to make sure you don't have any issues with the next project you paint.
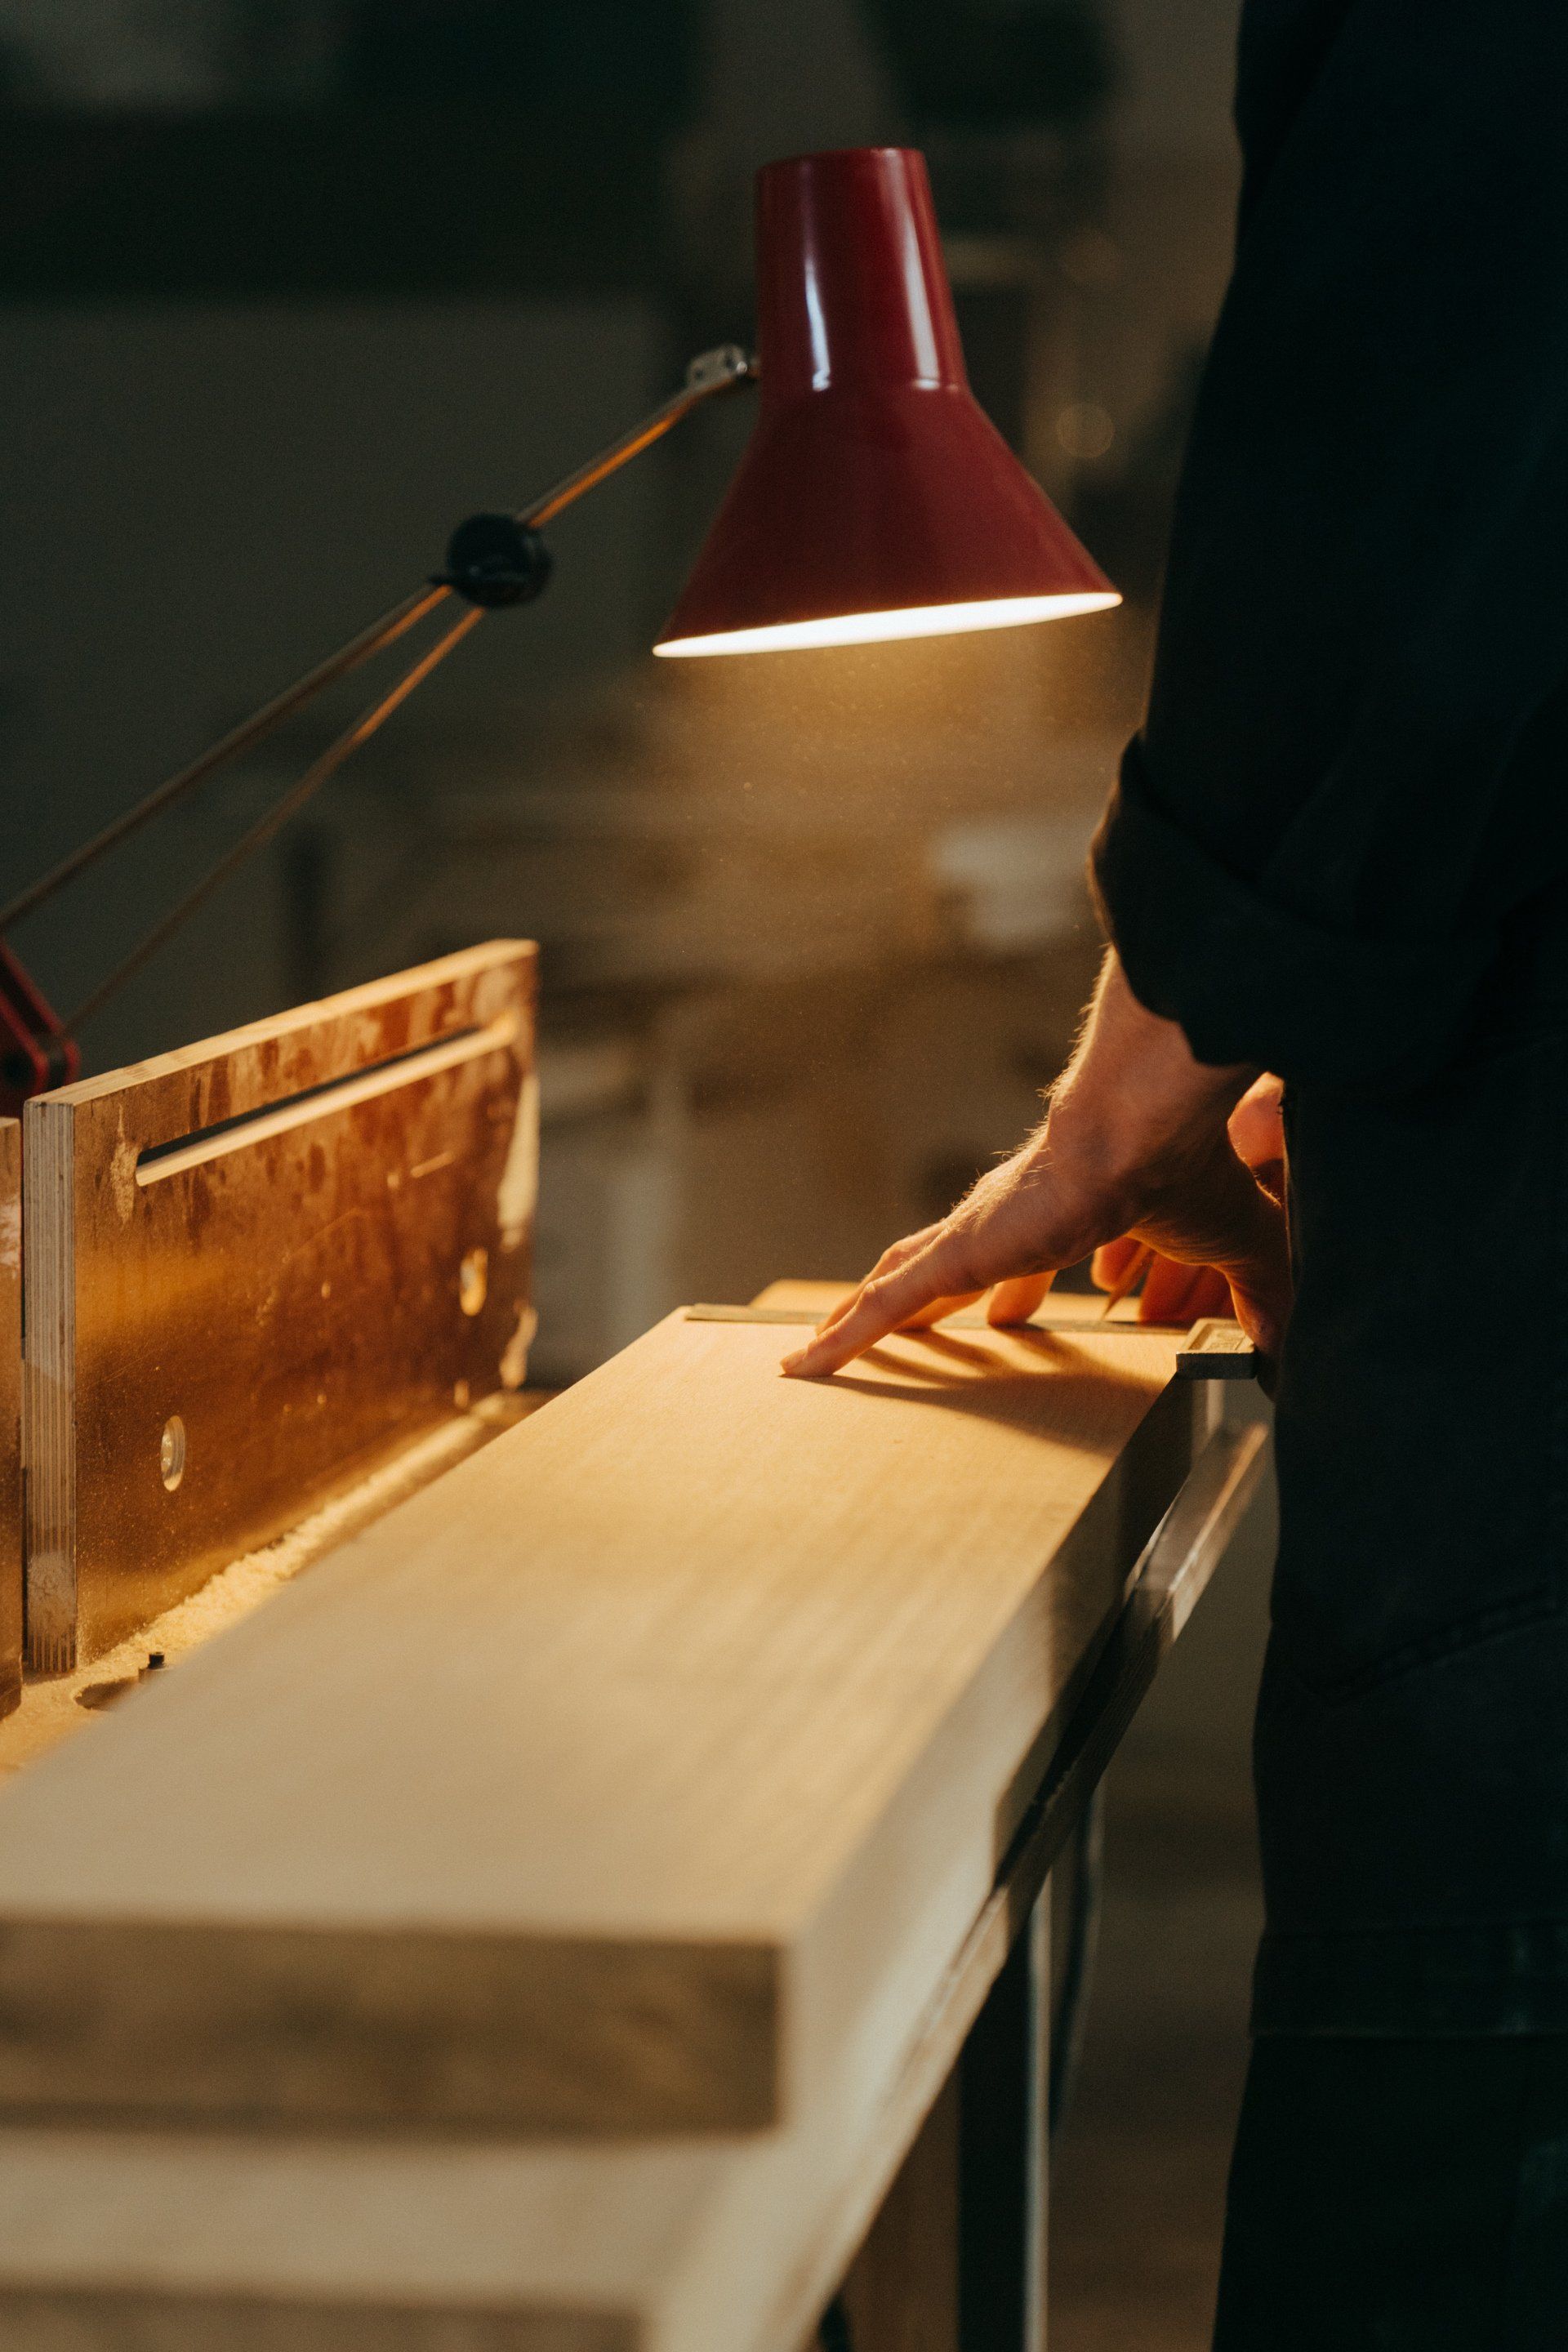
Woodworking can be fun, but it can also be intimidating for novices. Half Pencil Marks Exact Copies. When trying to draw an exact replica of the plate that is used to create the throat used by a table saw, we discovered this clever method using a pencil.